Add the application to the workspace
-
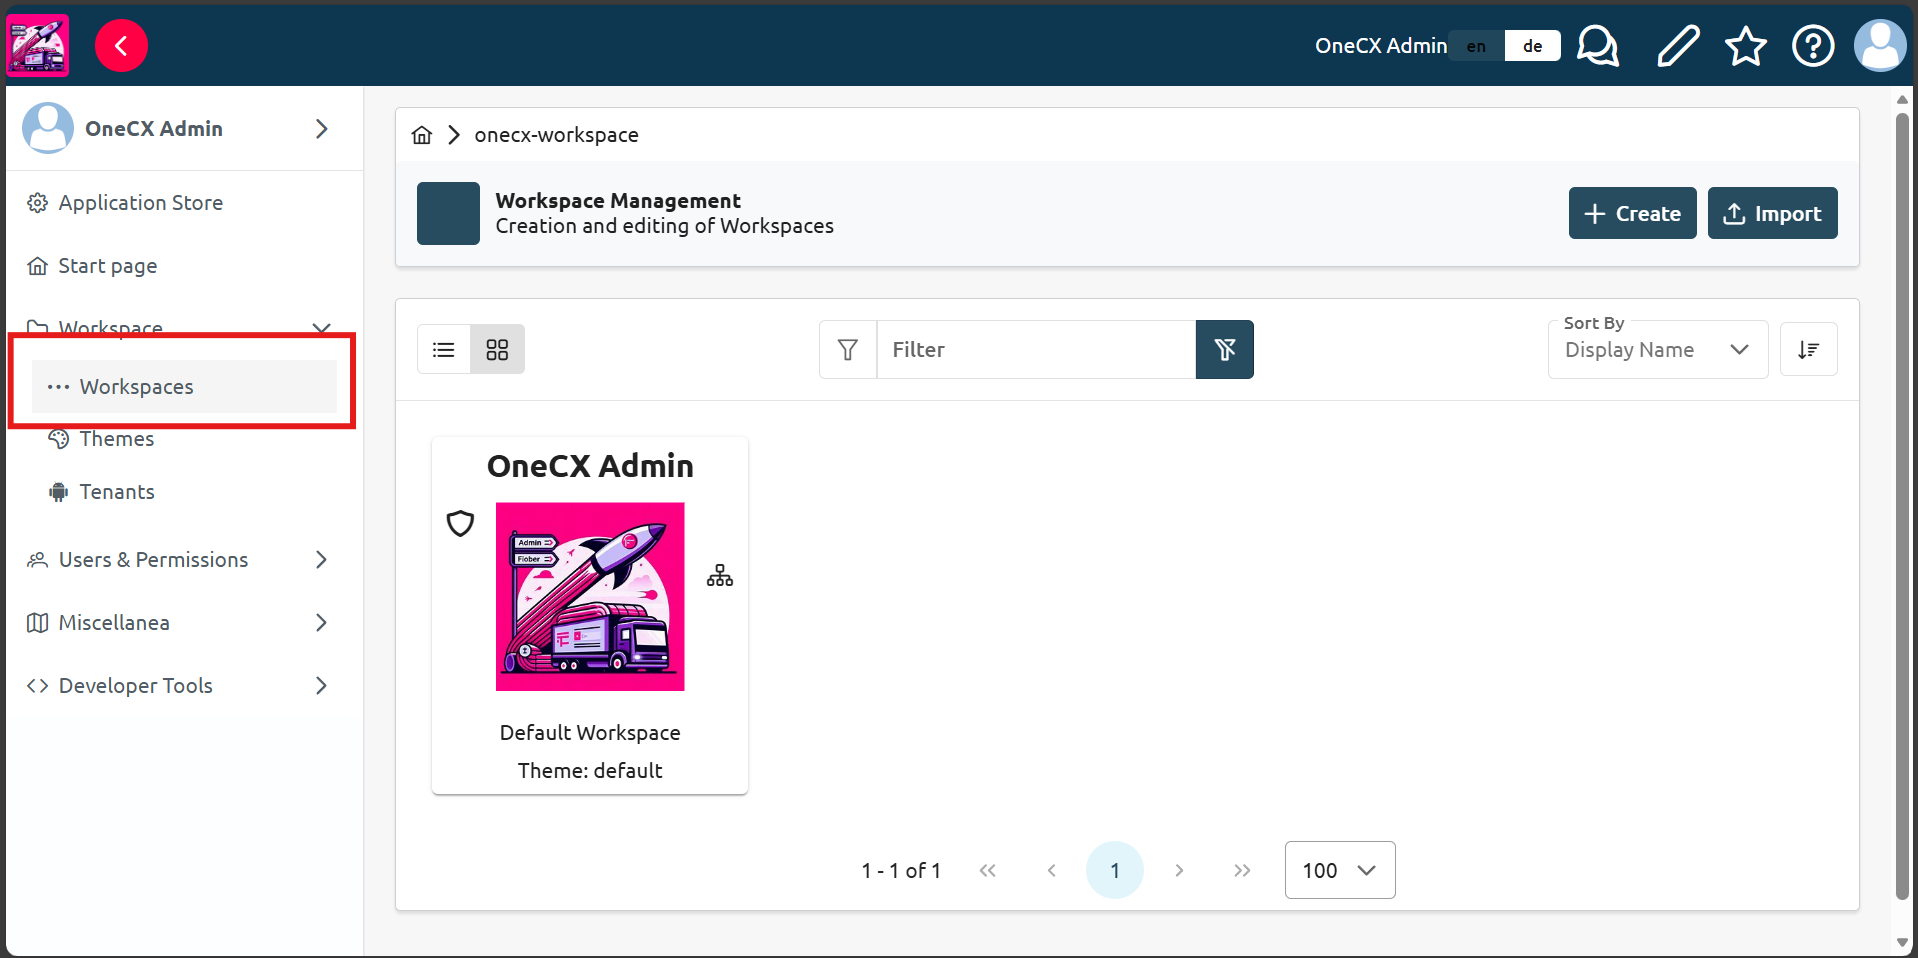
In OneCX on the left side panel, choose
Workspace, then chooseWorkspacessubitem. -
Click on the workspace you want to add the application to (e.g.
Onecx Admin). See OneCX Workspace documentation for more details on workspaces.
-
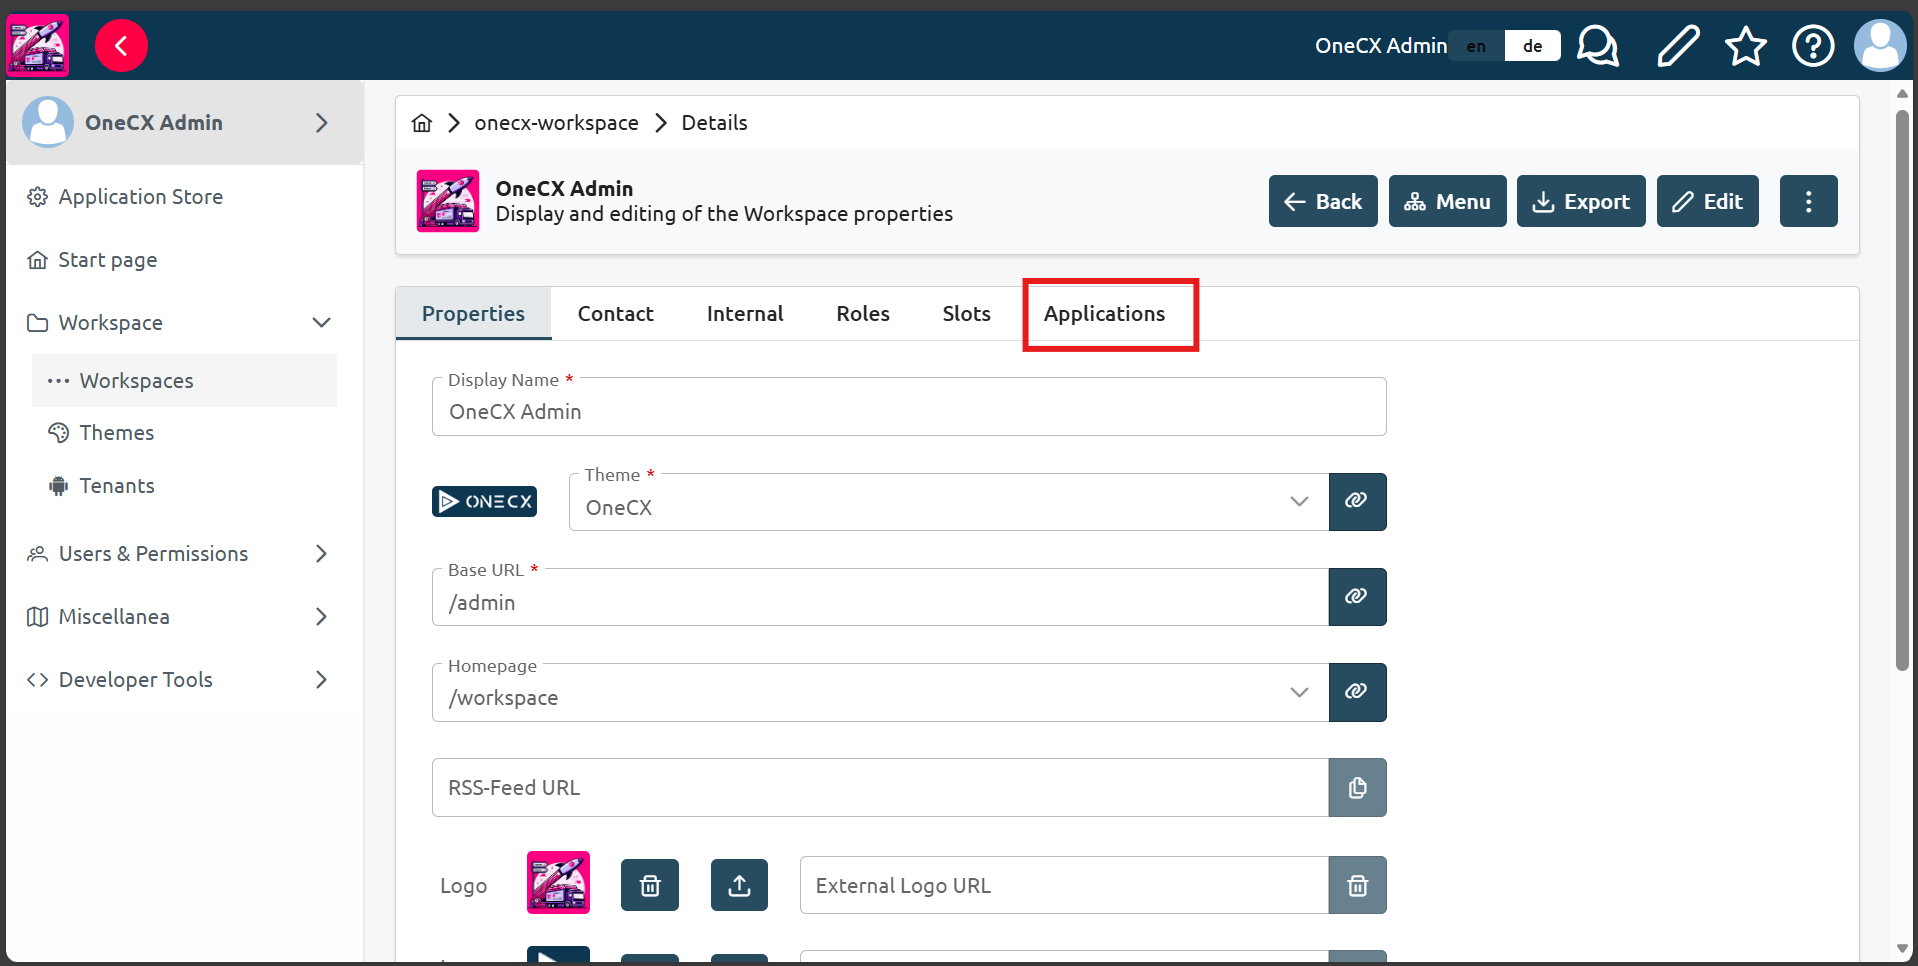
Click
Applicationstab in the workspace view, your application should be visible in the list of available applications.
-
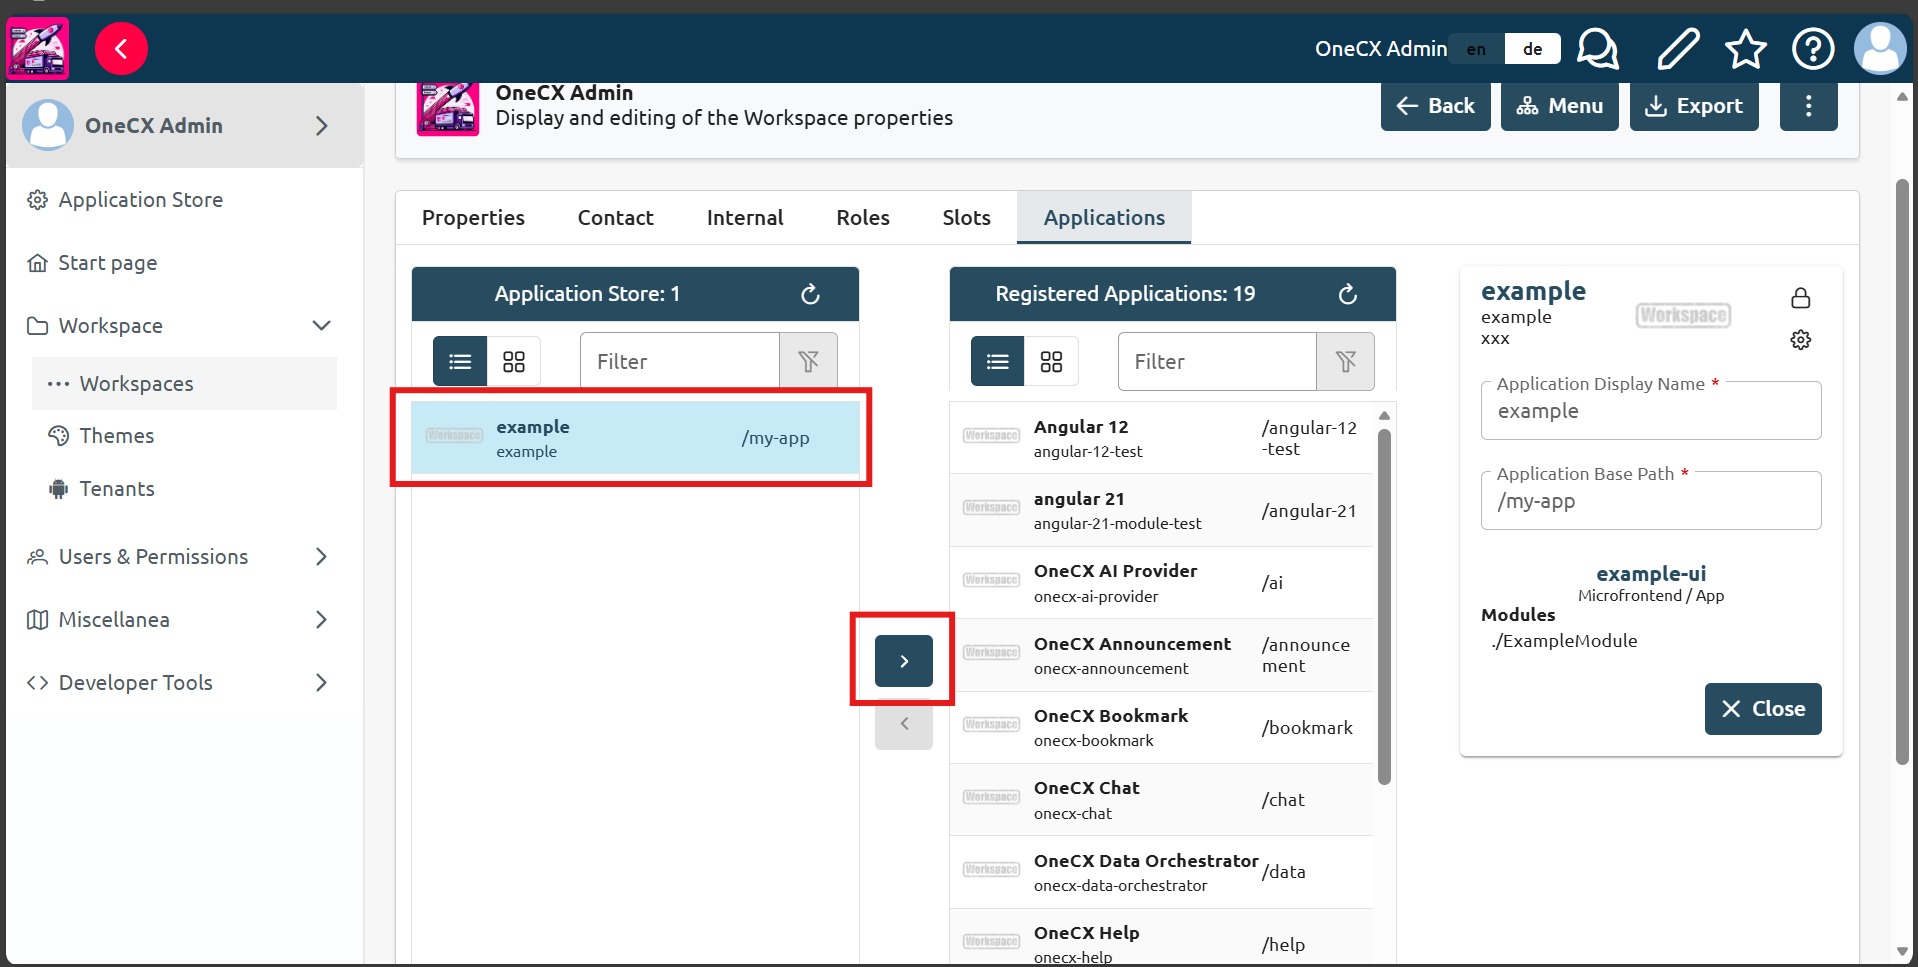
Click on the application you want to add to the workspace, then click
>button in the middle of the view.
-
You can access the application in the workspace now by entering the following link:
onecx.localhost/onecx-shell/{workspace-base-url}/{application-base-path}Where {workspace-base-url} is the base URL of the workspace (e.g. admin) and {application-base-path} is the base path of the application defined in the product store (e.g. my-app).
|
Make sure to replace |