OneCX UI App Generator
The OneCX UI App Generator is a powerful tool that simplifies the development of UI applications within the OneCX framework. It automates the creation of key UI components, ensuring consistency and adherence to best practices.
In addition to generation, significant parts still need to be created or modified manually by the user. Such parts are highlighted in the documentation as ACTION. These actions indicate where and what adjustments are necessary to complete the generated code.
To clearly explain how the generator works and the necessary adjustments, this guide uses a practical example: an application to manage Books. The Bookstore application allows users to search for books, view details about them, and manage their properties.
In case you want to take part of the development of the generator or want to use it locally without installing it globally from npm, see the Development Guide for instructions on how to get the generator and set up the development environment.
Prerequisites
Environment Setup
Make sure your development environment is set up correctly before using the OneCX UI App Generator.
The following tools must be installed and versions verified:
-
npm version should be >= 10.2.4
-
node version should be 20.11.0
-
nx - Local: v19.6.4
-
nx - Global: v20.0.6
node --version
npm --version
nx --versionnpm install -g nx@latestIn case of issues during Nx installation, try the following steps:
rm -rf node_modules
npm cache verify
npm install -g @nrwl/cli
npm install
Basic Knowledge helps
- Angular and Nx
-
The OneCX UI App Generator is built on top of Angular and Nx, so a basic understanding of these technologies is essential to effectively use the generator and customize the generated code.
- Local App Integration
-
The easiest way to integrate the generated App into local running OneCX is to follow the OneCX Local Environment guidelines in Extend OneCX. This ensures that the components are correctly registered and accessible within the application.
- OpenAPI Specification
-
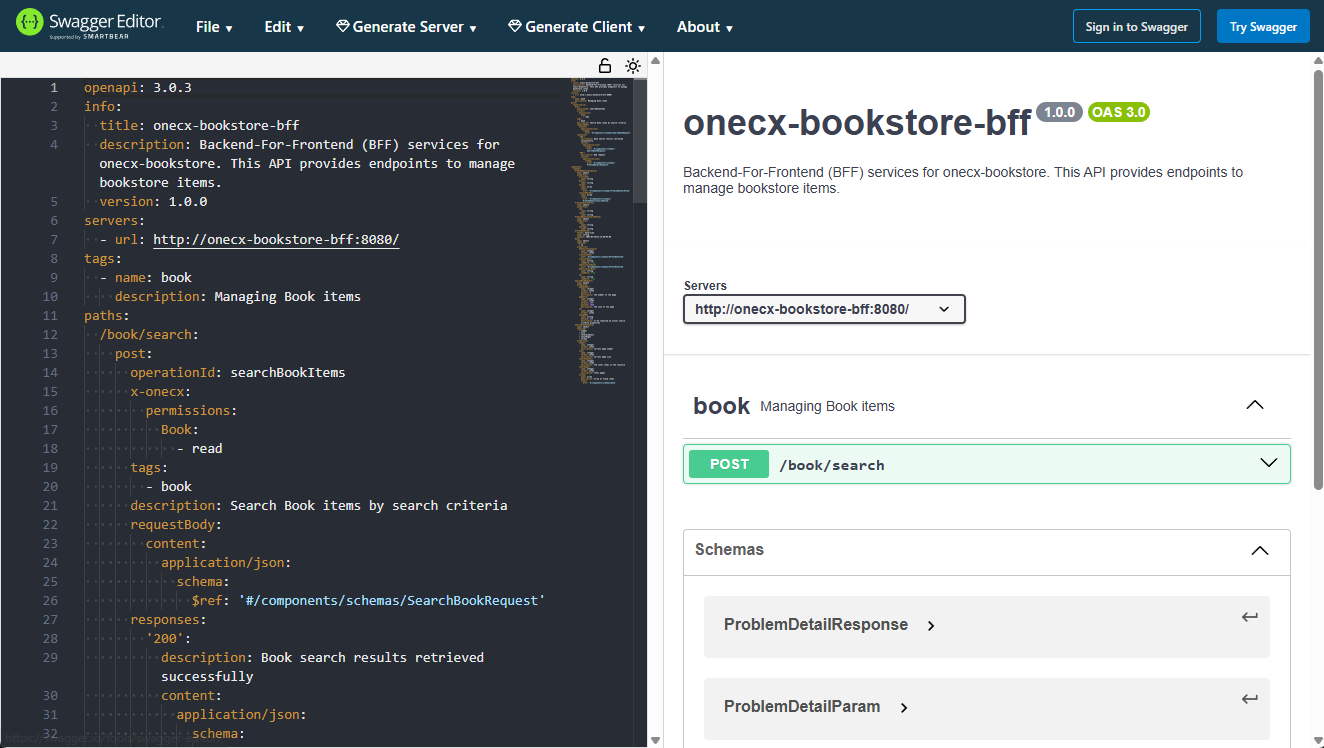
The generator relies on the OpenAPI specification to define the API endpoints and data models. Understanding how to read and modify OpenAPI YAML files is crucial for customizing the API interactions of the generated components.
Use the Swagger Editor to validate the syntax and structure of the OpenAPI file (openapi-bff.yaml) against the OpenAPI Specification.
Use of Swagger Editor with example OpenAPI file
Generation by Example
Let’s explore the capabilities of the OneCX App Generator through a practical example, the Bookstore. We will create a simple application to manage books, which includes features such as searching for books, viewing details, and managing their properties.
We also provide a simple mock solution to simulate the backend services for the generated components, allowing you to see the generator’s output in action without needing a fully functional backend.
The generator offers a range of commands to gradually create various UI components such as applications, function modules, and pages. During the generation of some parts, you will be prompted to specify parameters that determine the structure and naming of the generated components. Occasionally, code adjustments will be necessary to implement business requirements.
| Make the adjustments carefully and in accordance with the specifications and naming conventions of your project to ensure consistency and maintainability of the codebase. |
Start Generation
Here is an overview of the application parts that can be generated using the OneCX App Generator. Start from top to bottom, i.e. first generate the application, then the feature module, and then the pages. The generator will guide you through the necessary steps and parameters for each part.
-
OneCX UI App ⇐ start here
-
-
Create/Update Dialog
-
Delete Dialog
-
|
Build the application step by step, roughly following the suggested order above. This iterative approach allows you to understand the structure of the generated code and make necessary adjustments along the way. After generating each part, take the time to review the generated code, run the application, and ensure that everything is working as expected before moving on to the next part (see below for build, lint, test the App). This iterative approach helps in identifying and fixing issues early in the development process, leading to a more robust and maintainable application. |
Build the App
After generating the UI App and its components, you can build the application.
Use the following command to build the application:
npm run build
Lint the App
The generator creates code that adheres to standard linting rules, but it’s always a good practice to run the linter after generation to catch any potential issues or inconsistencies.
Use the following command to lint the application:
npm run lint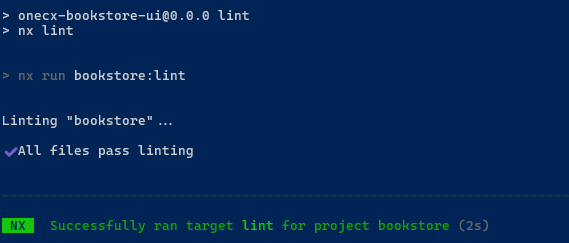
Test the App
After generating the application and its components, it’s crucial to run the tests to ensure that everything is working as expected. The generator creates basic test cases for the generated components, but you may need to add more tests or adjust the existing ones based on your specific requirements and business logic.
Use the following command to run the tests:
npm run test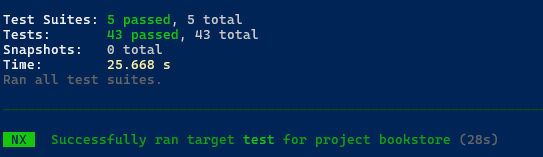
React Generators
In addition to the Angular generators, the OneCX App Generator provides generators for React UI applications. They follow the same iterative approach: generate a part, then adapt the places marked with ACTION.
-
Create a React Search Page
A data-driven search page with criteria, results table, header actions and API integration. -
Create a React Page
A minimal, ready-to-use page with header and content area.