Running OneCX locally
This guide provides a quick overview of the steps required to run a local OneCX environment. It includes instructions on starting the environment, accessing OneCX in a browser, and stopping the environment when finished.
Set up the local environment
Follow the instructions at Setup to configure the base on your local machine.
The following steps assume that onecx-local-env has already been configured and installed according to the installation instructions.
Starting the local environment
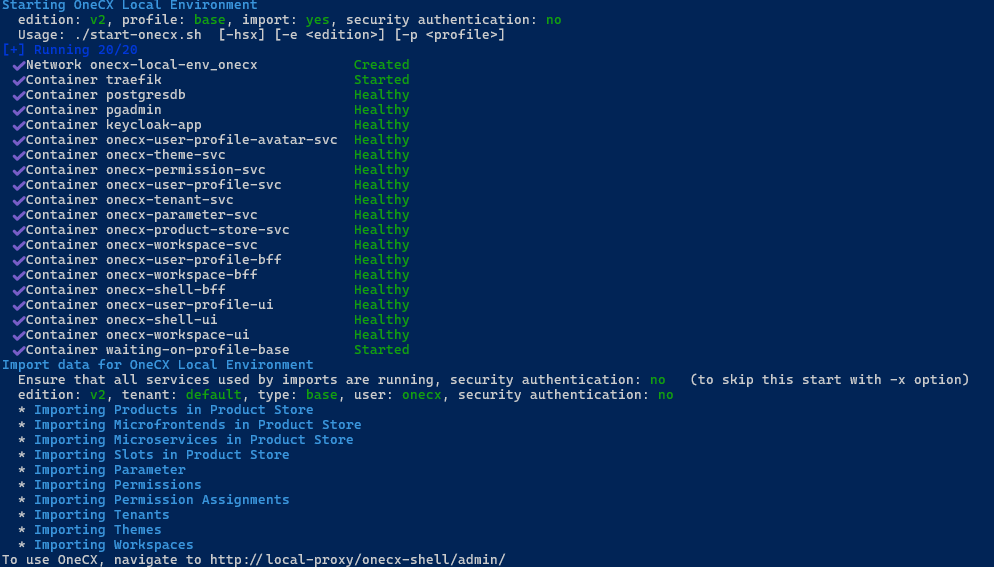
After setting up a local OneCX environment can be started by running a single command from the root directory of onecx-local-env.
./start-onecx.shThis command starts the minimal set of required Docker services and imports the necessary data for them to function. This process may take several minutes, especially on the first run, as Docker images may need to be pulled.
|
The start-onecx.sh script accepts optional flags to customize its behavior. A list of available flags can be found in the start-onecx.sh documentation or by running
|
Accessing OneCX in a browser
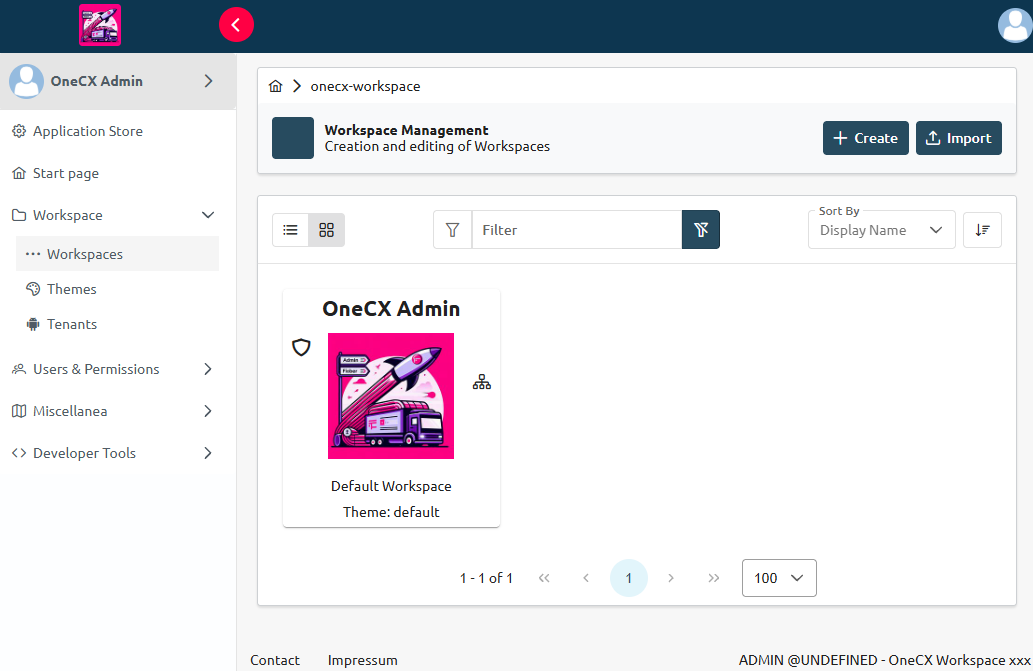
After starting the local environment, OneCX can be accessed in a web browser by navigating to http://local-proxy/onecx-shell/admin.
The default login credentials for the admin user are:
-
Username:
onecx -
Password:
onecx
|
If the environment was started with only essential services, not all UI functions are available. This is not a bug, but by design. To start all services, start with
|
Stopping the local environment
When finished using the local OneCX environment, it can be stopped by running the following command from the root directory of onecx-local-env:
./stop-onecx.sh|
The
|